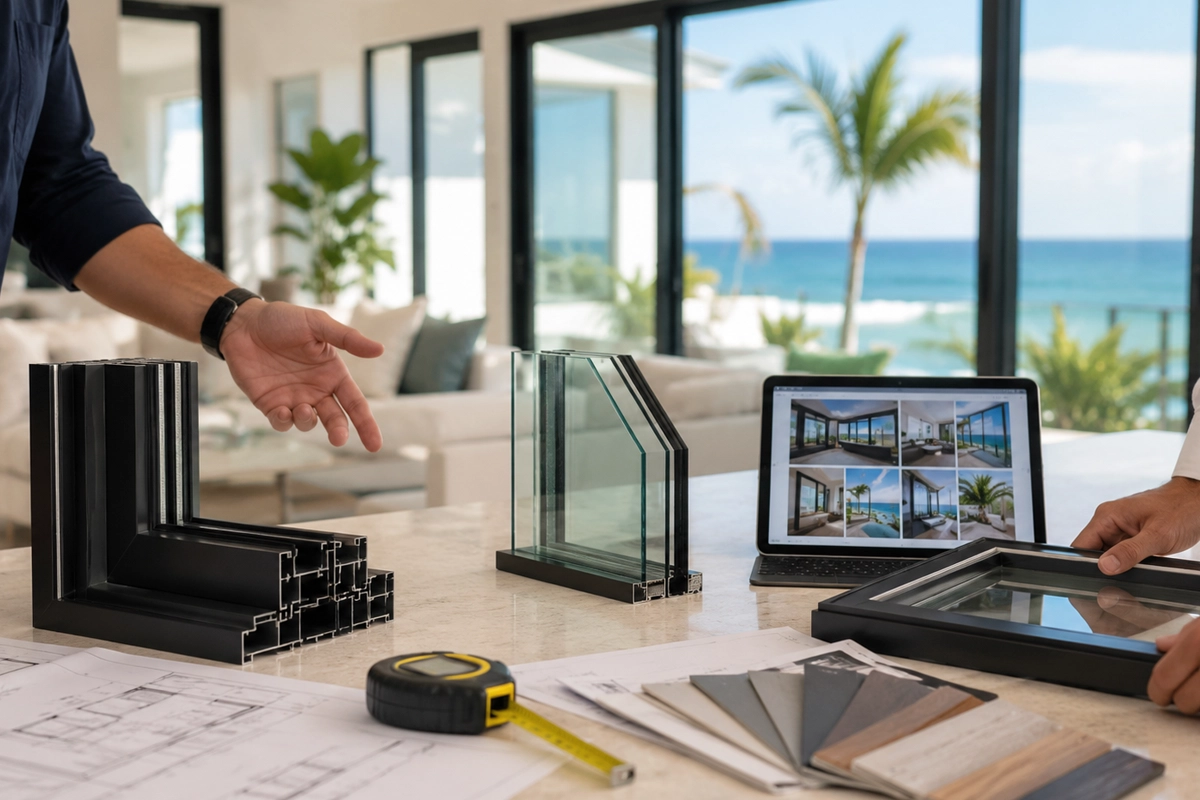
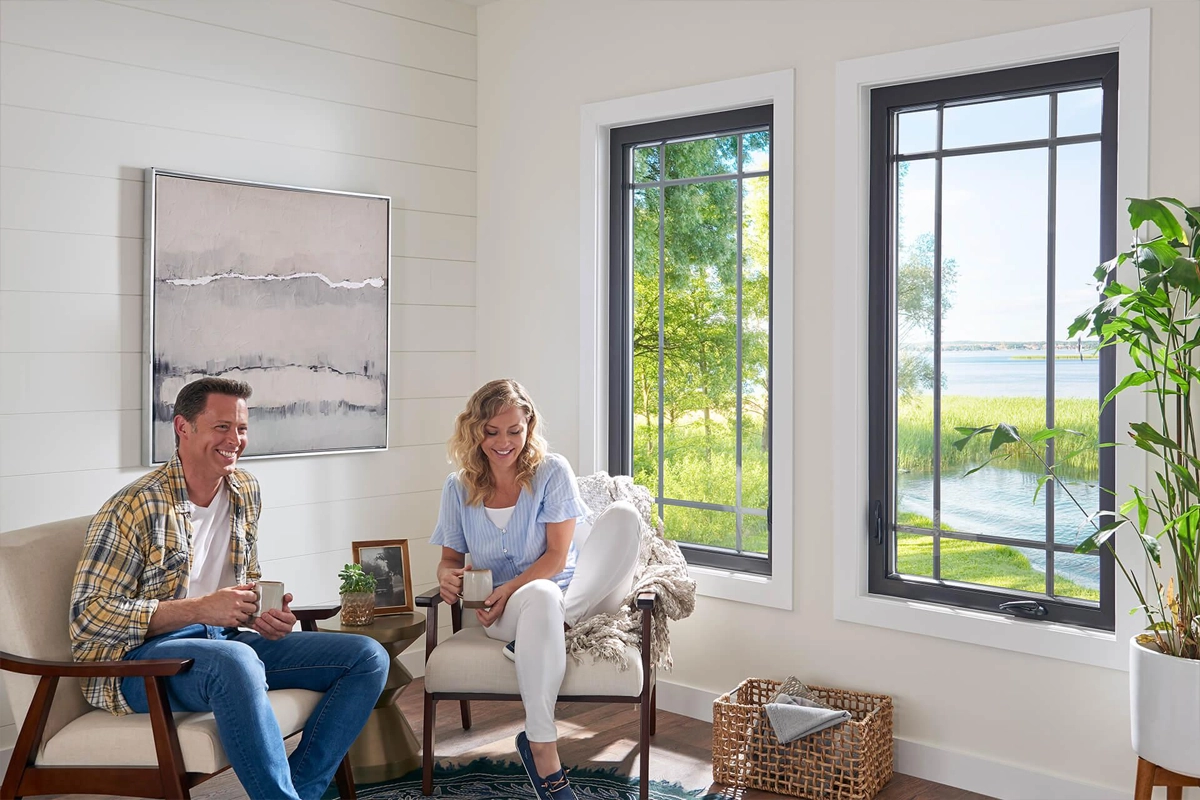
Replacing ordinary windows with impact-rated systems is not just a matter of removing one frame and putting another in its place. In Florida, a well-planned impact window project can involve product selection, exact measurements, design-pressure requirements, product approvals, permitting, installation details, inspections, and final documentation.
That is why the question “How long does impact window installation take?” rarely has one universal answer. The physical installation is only one part of the overall project timeline. Product availability, permit review, the number and type of openings, property access, existing conditions, association approvals, inspections, and repair work around the openings can all affect the schedule.
If you are comparing proposals, this guide explains what should happen from the first site visit through project closeout, what can change the timeline, and what Florida homeowners should verify before installation begins.
Quick answer: what does the impact window installation process include?
A typical Florida impact window replacement project follows these broad stages:
- Initial consultation and project scope
- Opening measurements and site-condition review
- Product, configuration, and glass selection
- Verification of product approvals and project requirements
- HOA, condo, or building-management review when applicable
- Permit preparation and approval when required
- Product ordering and scheduling
- Home preparation and removal of existing windows
- Installation, anchoring, sealing, and finishing
- Required inspections and permit closeout
- Delivery of warranties, approvals, and project records
The exact order can vary. Some activities can happen in parallel, while others must wait for an approval, product delivery, or inspection.
For homeowners still deciding whether impact windows are the right protection method, our guide to impact windows vs. hurricane shutters compares the two approaches before you reach the installation stage.
Stage 1: define the project before selecting windows
A strong installation starts with a clear scope. Before a product is ordered, the contractor should understand which openings are being replaced, how each room is used, the desired window styles, access conditions, and any constraints that could affect the work.
The site review should identify conditions such as:
- Existing frame material and window type
- Rough opening dimensions
- Concrete, masonry, wood-frame, or other substrate conditions
- Stucco, siding, drywall, trim, or tile around the opening
- Existing shutters or storm-protection hardware
- Security sensors and window treatments
- Second-story or difficult-access openings
- Patio covers, landscaping, furniture, or other access limitations
- Condo, HOA, or architectural-control requirements
If you are still comparing configurations, the impact windows service page and windows catalog provide a useful starting point before final measurements are taken.
Stage 2: final measurements matter more than homeowners often realize
Impact windows are approved assemblies, and the exact opening size matters. A contractor should not rely only on a rough estimate or a homeowner’s measurement when ordering the final units.
Final field measurements help confirm the proposed size, operating style, frame configuration, and installation conditions. They can also reveal openings that are out of square, unusually deep, obstructed, or surrounded by finishes that may need additional work.
This step matters because product approvals include limits and installation details. A window approved in one size or configuration is not automatically approved in every possible size or opening condition.
The Florida Building Commission Product Approval search allows homeowners and contractors to review Florida approval information by manufacturer, product, code version, impact-resistance status, and other criteria.
Stage 3: verify the exact product, not just the brand name
Two quotes can list the same manufacturer while proposing different window series, glass packages, frame materials, operating styles, or approval conditions. The proposal should be specific enough to identify what is actually being installed.
Before ordering, ask for the exact:
- Manufacturer
- Product series or model
- Window type and configuration
- Frame material and finish
- Glass option
- Impact classification when applicable
- Florida Product Approval number or applicable Miami-Dade Notice of Acceptance
- Design-pressure information used for the project
- Mullion system when openings are combined
- Installation details and substrate requirements
Florida does not have one identical window specification for every home and every opening. Our guide on whether impact windows are required in Florida explains why wind-borne-debris requirements, the High-Velocity Hurricane Zone, product approvals, and local project conditions should be evaluated before relying on a broad marketing statement such as “Florida approved.”
Stage 4: confirm contractor licensing and responsibility for permits
Before signing a contract, homeowners should know who is responsible for the work, the permit, inspections, and project closeout.
Florida’s Department of Business and Professional Regulation provides an official license-verification portal where consumers can search regulated contractors.
A written proposal should make responsibilities clear. Ask:
- Who will apply for the permit when one is required?
- Who will prepare or provide product-approval documents?
- Who coordinates inspections?
- Who is responsible for HOA or condo submissions?
- Who handles required engineering or design documents, if applicable?
- What work is included around stucco, drywall, trim, paint, or tile?
- What happens if concealed damage is found after the old window is removed?
- What documents will be provided after the permit is closed?
If you are comparing companies, how to choose an impact window company covers licensing, scope clarity, product documentation, warranties, and other questions worth reviewing before the contract is signed.
Stage 5: permits and approvals can affect the project timeline
Window-replacement permit requirements vary by jurisdiction and project scope, so homeowners should avoid assuming that a neighbor’s project or a contractor’s experience in another city will apply exactly to their property.
In Miami-Dade County, for example, the county’s official window and glass-door permit checklist calls for permit plans that identify window or door sizes, product approval numbers, mullions where applicable, and required positive and negative pressures. It also addresses Miami-Dade Notices of Acceptance and Florida Building Commission approvals for applicable products.
That level of documentation is one reason permit preparation should be treated as a real project stage rather than an administrative afterthought.
Confirm the local authority having jurisdiction and ask the contractor what documents are expected before the units are ordered or installation is scheduled. Depending on the project, review may involve opening schedules, product approvals, design pressures, installation details, floor plans, engineering, or other supporting information.
Stage 6: product ordering and scheduling
The contract date and the installation date are not the same thing. After measurements and selections are confirmed, products may need to be manufactured, transferred from distribution, or coordinated with the permit and association approval process.
Lead time can vary based on:
- Manufacturer and product series
- Standard versus custom sizes
- Frame color
- Glass package or tint
- Architectural shapes
- Mullions or combined openings
- Current production demand
- Delivery logistics
- Permit status
Instead of relying on a generic promise, ask whether the quoted timeline starts at contract signing, final measurement, permit approval, product order, product arrival, or installation scheduling. Those are different milestones.
For budgeting questions, our guide to impact window cost factors in Florida explains how product type, opening size, project complexity, finish work, and other variables can affect the proposal.
Stage 7: prepare the home before installation day
Good preparation helps the crew work safely and reduces the risk of damage to furniture or finishes.
Before the crew arrives, homeowners may be asked to:
- Move furniture away from the openings
- Remove curtains, blinds, and decorative items
- Clear window sills
- Protect sensitive electronics and valuables
- Provide access to rooms, gates, elevators, and parking
- Secure pets
- Coordinate alarm sensors if needed
- Confirm HOA or building work-hour restrictions
Ask the contractor what protection they provide for floors, furniture, landscaping, and interior finishes, and what the homeowner is expected to move in advance.
Stage 8: removal should protect the opening, not just remove the old frame
Once work begins, the crew must remove the existing window while managing the surrounding wall and finishes. The method depends on the original installation, substrate, frame, and replacement approach.
After removal, the opening should be evaluated for conditions that were not visible beforehand. Concealed damage, deterioration, previous repairs, unusual anchoring, or changes to the rough opening can affect the next step.
If a hidden condition requires additional repair or a change in scope, homeowners should understand what changed, why it matters, and whether additional approval or documentation is needed before work proceeds.
Stage 9: setting, anchoring, sealing, and finishing
The new window is positioned, aligned, anchored, sealed, and finished according to the applicable product and installation requirements.
Alignment and operation
The frame should be installed so the window operates as intended. Sashes, locks, rollers, or crank hardware should function correctly, and the unit should not be visibly twisted or forced into an opening.
Anchoring
Fastener type, embedment, spacing, edge distance, and substrate conditions can be part of the approved installation details. The appropriate pattern comes from the specific product approval and project conditions, not from a generic fastening diagram.
Perimeter sealing and water management
The opening needs a properly executed perimeter seal and water-management approach appropriate to the wall assembly and product instructions. Sealant should not be treated as a cosmetic finishing step alone.
Interior and exterior finish work
Depending on the original construction and replacement method, the project may require stucco patching, drywall repair, trim work, caulking, paint touch-up, or other finishing. The contract should state what is included so the homeowner knows where the window scope ends.
Stage 10: inspections are part of the project
Where inspections are required, installation is not fully complete just because every window is physically in place.
The inspector may verify items associated with the permitted work and approved documents. The exact inspection sequence varies by jurisdiction and scope. In some projects, work may need to remain visible before certain finishes are completed; in others, the jurisdiction may use a different sequence.
Ask how you will know when the permit is officially closed and whether you will receive a final inspection record or other closeout documentation.
Stage 11: keep the closeout documents
A finished impact window project should leave the homeowner with more than clean glass and new frames. Keep the project documentation because it can be useful for future repairs, insurance questions, resale, warranty claims, and verification of installed products.
A useful closeout file may include:
- Signed contract and change orders
- Final invoice and proof of payment
- Permit number and final inspection or closeout record
- Product approval or NOA information
- Manufacturer and product series
- Warranty documents
- Installation warranty, if provided
- Glass and frame selections
- Photos or opening schedule, when provided
- HOA or condo approval records
- Any engineering or project-specific documents
If you later need to identify what was installed, these records can be more reliable than trying to reconstruct the project from appearance alone. Our guide on how to tell if windows are impact resistant explains how labels, approvals, permit records, and product documentation can help verify existing windows.
How long does impact window installation take in Florida?
The most useful answer separates the total project timeline from the on-site installation period.
The total project can include final measurements, product selection, association approvals, permitting, manufacturing or distribution lead time, scheduling, installation, inspections, and closeout. Any of those stages can become the controlling factor.
The on-site work depends on variables such as:
- Number of windows and doors
- Size and weight of units
- Single-story versus multi-story access
- Condo or high-rise logistics
- Existing frame and wall construction
- Amount of repair or finish work
- Custom mullions or combined openings
- Weather
- Crew access and permitted work hours
- Inspection scheduling
Rather than accepting a generic promise such as “every house is installed in one day,” ask for a project schedule that distinguishes current product lead time, permit status, planned installation days, and inspection or closeout steps.
What can delay an impact window project?
Common schedule risks include incomplete product or permit information, HOA or condo approval started too late, custom products, existing conditions discovered during removal, restricted building access, severe weather, and inspection availability or corrections.
Some delays are avoidable; others are legitimate parts of permitted construction. The important question is whether the contractor can identify the current milestone, explain the dependency, and communicate what happens next.
Questions to ask before you schedule installation
A good pre-installation conversation should answer practical questions, not just confirm a date:
- Are the exact manufacturer, series, glass option, and frame finish confirmed?
- What product approval or NOA applies to each proposed system?
- Have final field measurements been completed?
- Is the permit approved, pending, or not yet submitted?
- Are HOA, condo, or building approvals complete?
- Are the windows physically available, in production, or only quoted?
- How many on-site workdays are planned for my specific scope?
- What should I move or remove before the crew arrives?
- What finish work is included around the openings?
- How will hidden damage or scope changes be documented and approved?
- What inspections are required, and who schedules them?
- What records and warranties will I receive at closeout?
These questions make it easier to compare proposals based on the complete project rather than only price or a promised installation date.
Florida-specific planning: one state, different local processes
AA Glass & Windows serves homeowners and businesses across South Florida, Central Florida, Southwest Florida, the Treasure Coast, and the Florida Keys. Those regions do not all share one permit office, one review process, or one set of site conditions.
A Miami-Dade or Broward HVHZ project can have different approval considerations from a project elsewhere in Florida. A coastal property may create different exposure and access concerns from an inland home. A condo can have association and building-management requirements that a single-family home does not.
The safe planning approach is project-specific: identify the jurisdiction, verify the product approval and opening conditions, confirm the permit and association process, then build the schedule around the actual products and property.
The bottom line
Impact window installation in Florida is a construction process, not just a delivery appointment. Strong projects begin with accurate measurements and exact product selection, confirm the applicable approvals and permit requirements, plan for access and finish work, install the units according to the approved system, and close the project with the required inspections and documentation.
The total timeline varies because the installation itself is only one stage. Homeowners get a clearer picture by asking where the project stands in each stage: measurement, approvals, permit, product availability, installation, inspection, and closeout.
If you are planning to replace windows or doors, AA Glass & Windows can help you review the project scope, available impact-window styles, product documentation, and installation planning for your Florida property. Request a free estimate to discuss the openings you want to replace and the next steps for your project.